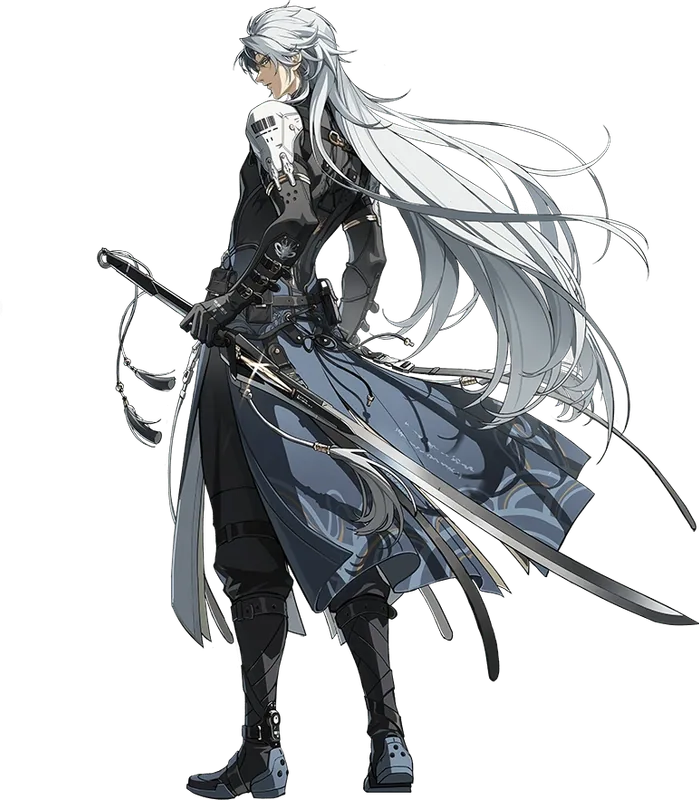
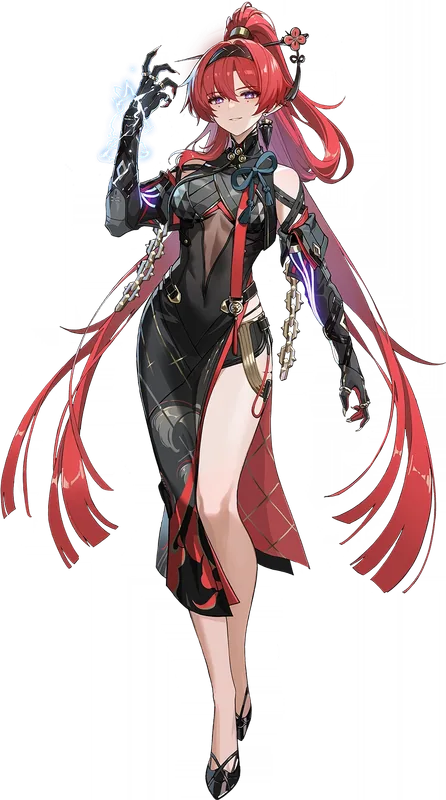
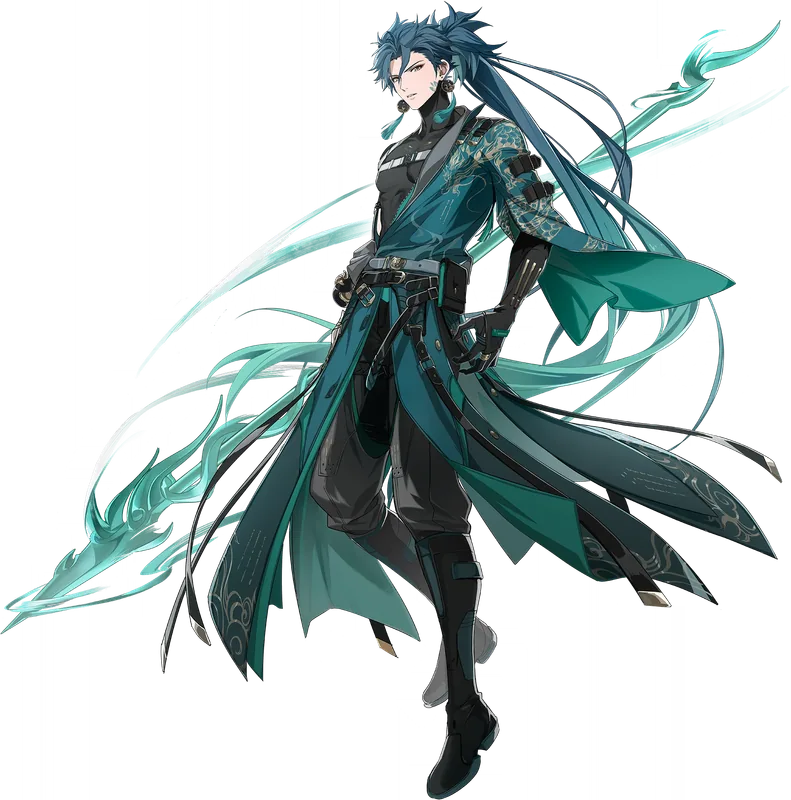
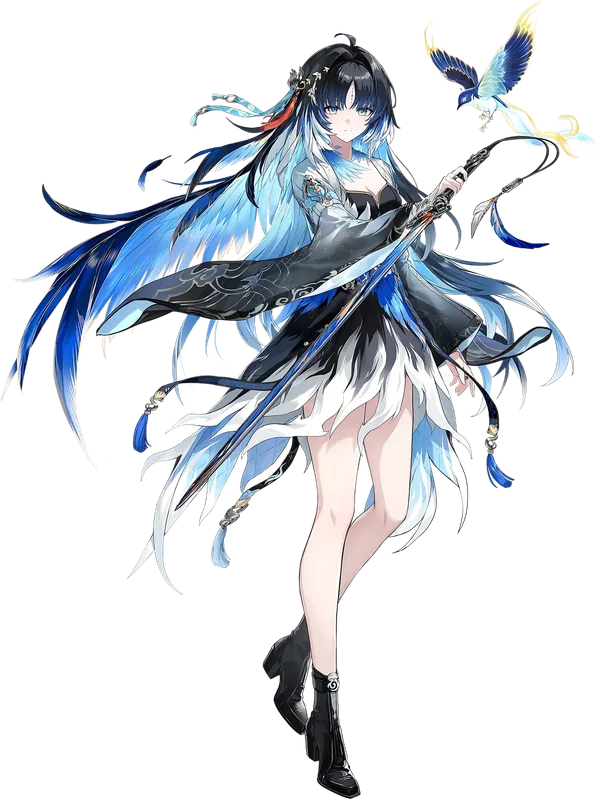
Havoc Bane
T0Main DPS
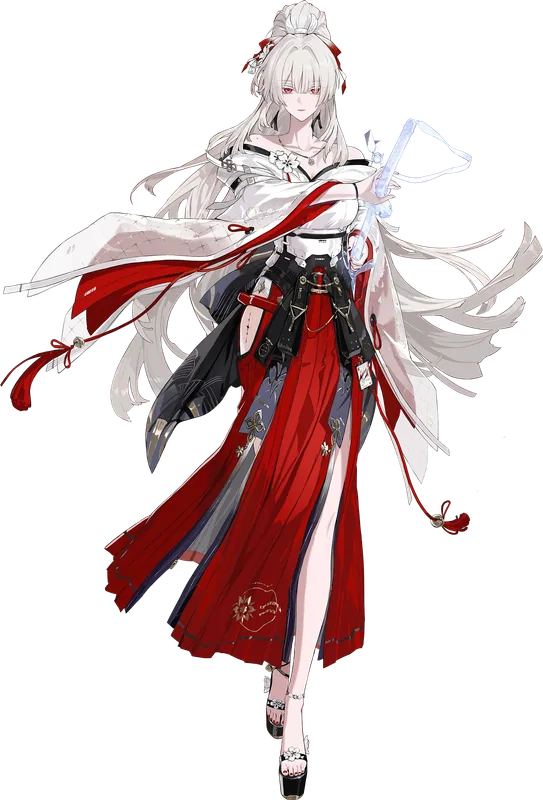
 Yangyang: Xuanling
Sub-DPS
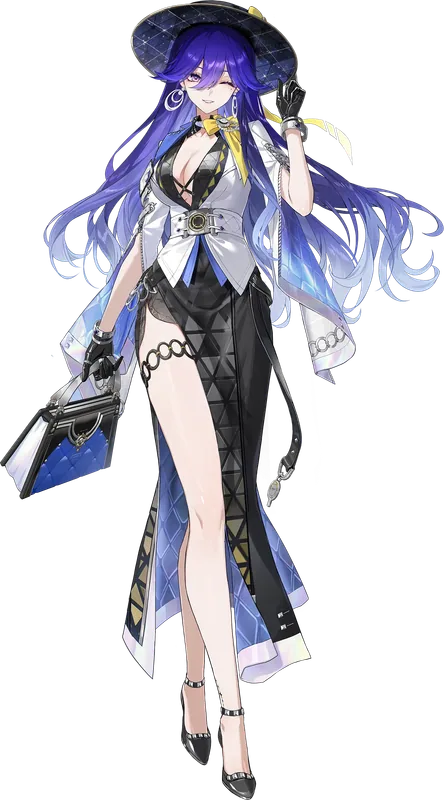
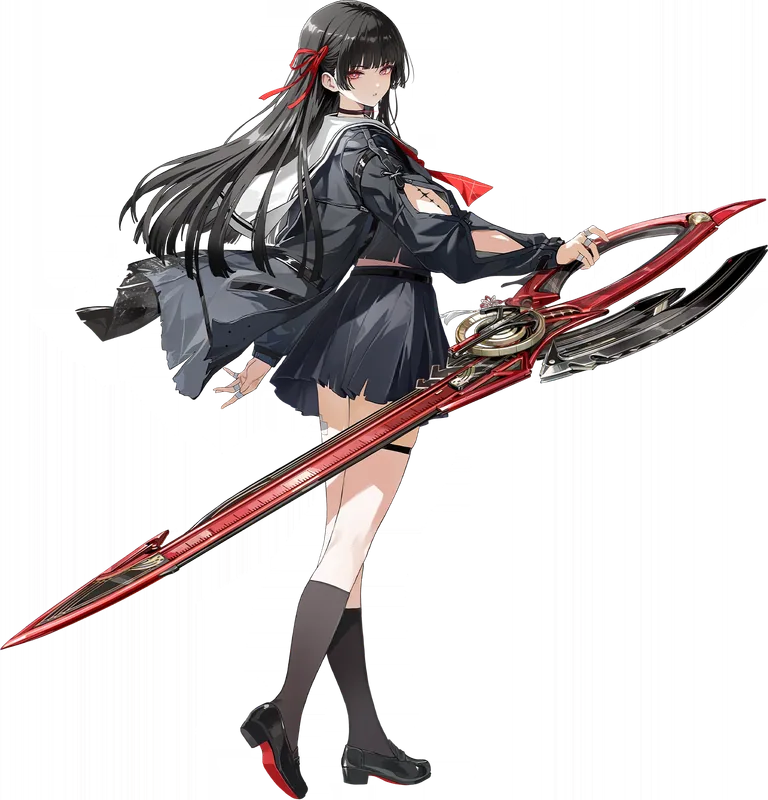 Chisa
Support
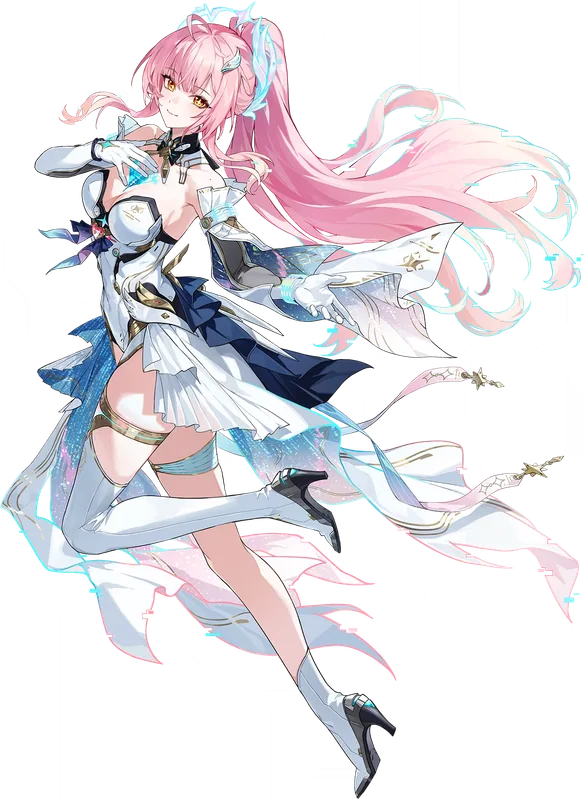
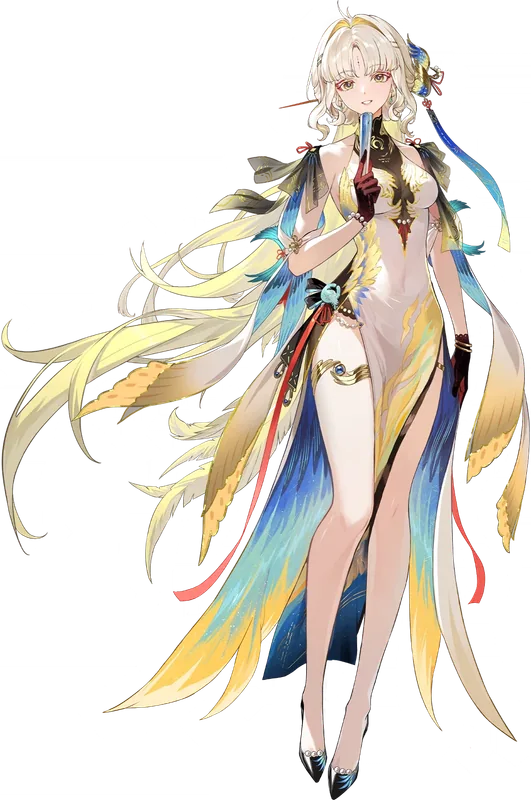 Suisui
How they work together
Chisa and Suisui strip enemy defence while Xuanling builds marks — her heavy attacks then cash them in for huge damage.
Version 3.8 · Post-launch · 63 teams
Who to field together, and why it works. The best teams overall, this reset's Tower and Whimpering Wastes picks, and teams you can build for free. Tap a Resonator in the index to see every team they fit.
The strongest teams in 3.8 for general play. T0 is the top of the meta; T0.5 sits just under it.
Main DPS
Yangyang: XuanlingSub-DPS
ChisaSupport
SuisuiChisa and Suisui strip enemy defence while Xuanling builds marks — her heavy attacks then cash them in for huge damage.
Lucilla and Suisui stack freeze — Hiyuki's biggest hits land hardest on frozen enemies. Suisui also heals.
Denia and Mornye speed up and boost the team's Tune Break attacks. Qingxiao does the main hitting.
Hsin and Suoming swap fast, building a shared meter that makes both hit harder. Lily heals the team and stacks ATK and crit buffs on top.
Qiuyuan boosts Echo Skill damage — Sigrika's main damage source. Lily heals and adds Echo Skill crit buffs of her own.
Main DPS
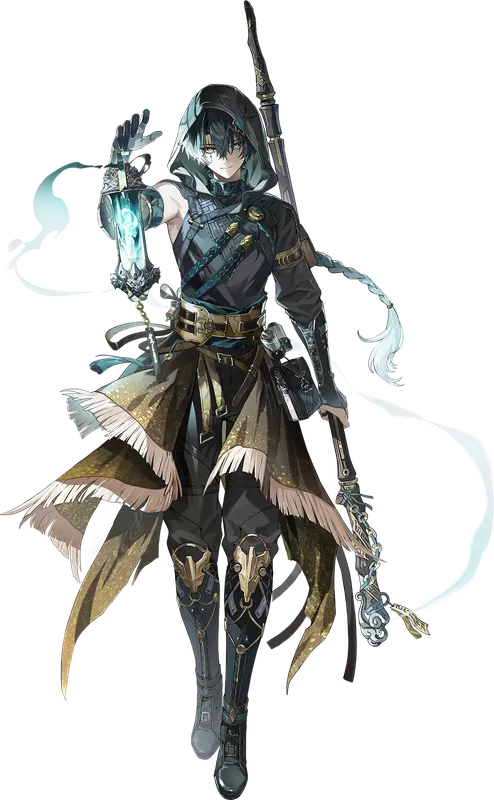 Jingran
Sub-DPS
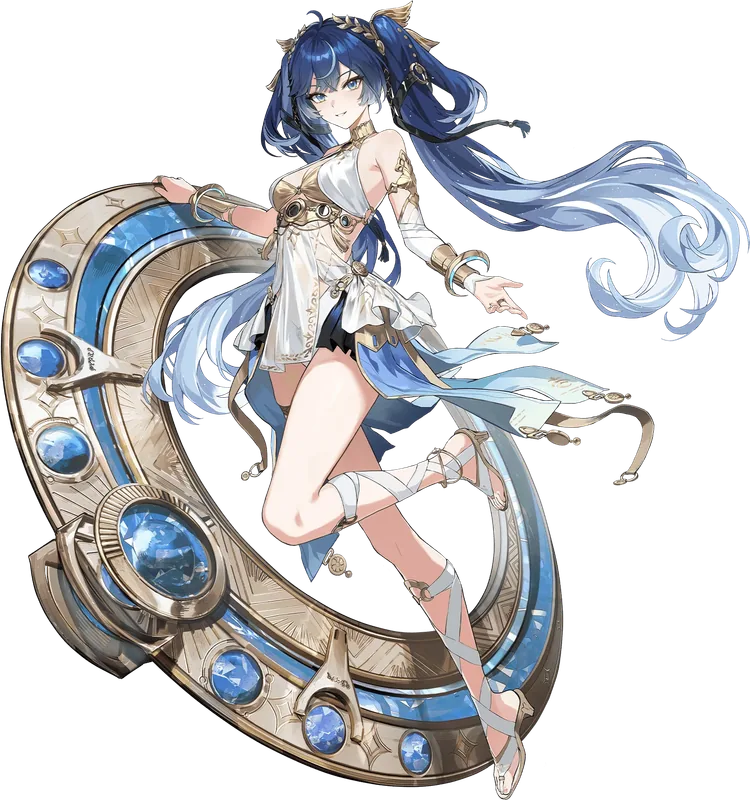 Iuno
Support
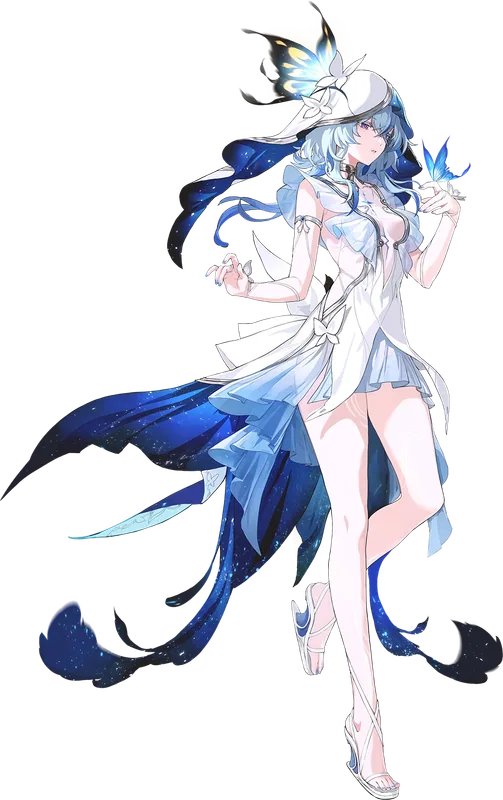 Shorekeeper
Iuno feeds Jingran heavy-attack buffs and healing, Shorekeeper adds crit buffs — Jingran stays out doing the big damage.
Main DPS
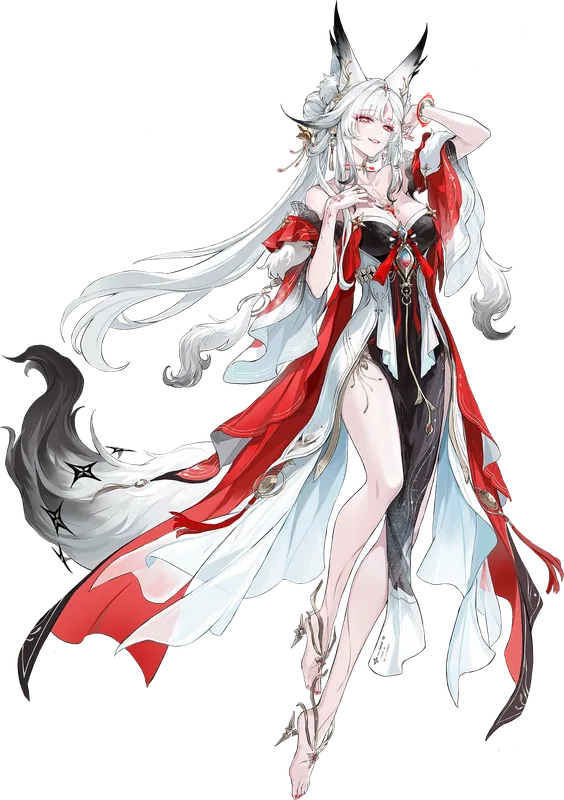 Hsin
Sub-DPS
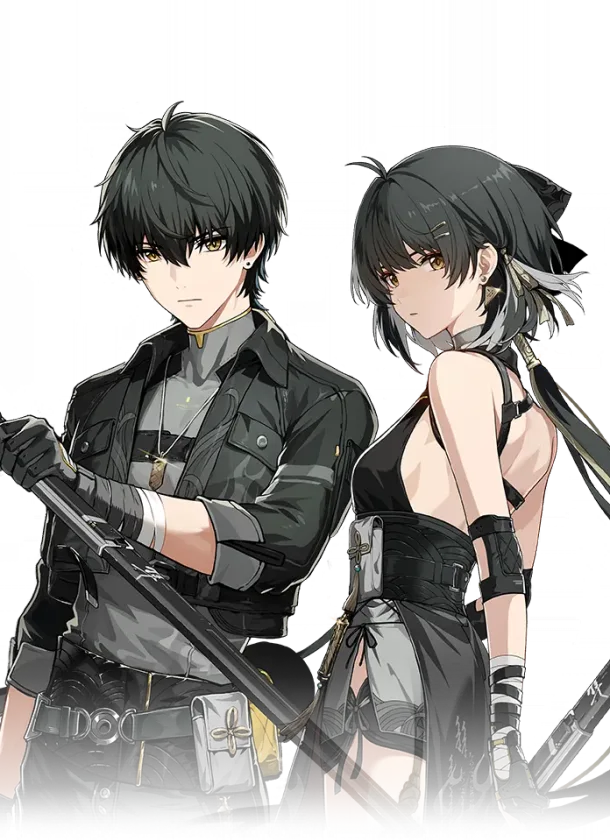 Electro Rover
Support
SuisuiElectro Rover builds Hsin's Flare marks fast, Suisui boosts her skill damage and heals — then Hsin sets the marks off.
Lynae buffs all of Aemeath's damage, especially her ultimate. Mornye speeds up Tune Breaks and adds more buffs.
Main DPS
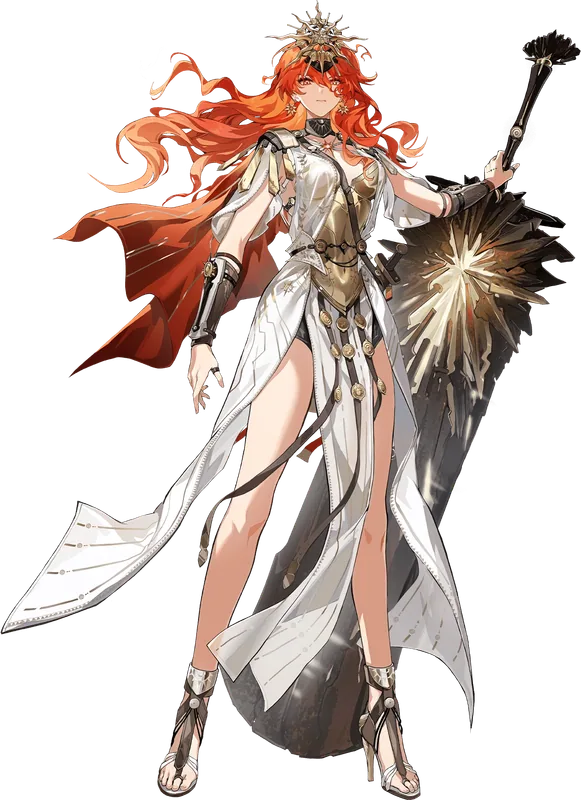 Augusta
Sub-DPS
IunoSupport
ShorekeeperIuno boosts Augusta's heavy attacks and heals her, Shorekeeper raises crits — Augusta does almost all the damage.
Main DPS
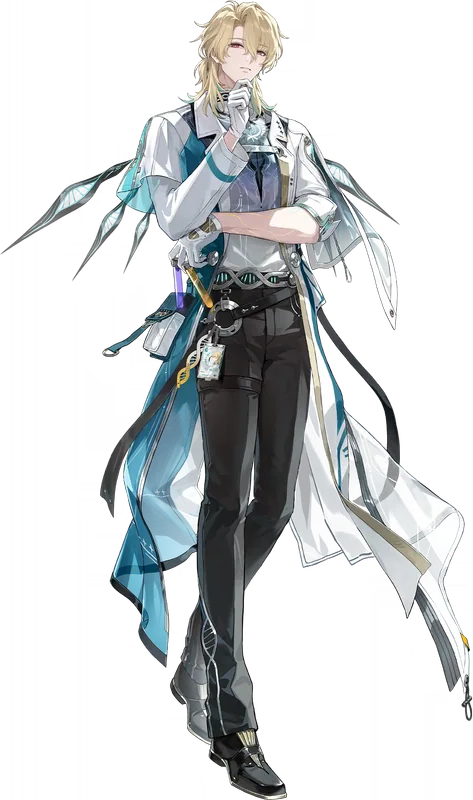 Luuk Herssen
Sub-DPS
 Denia
Support
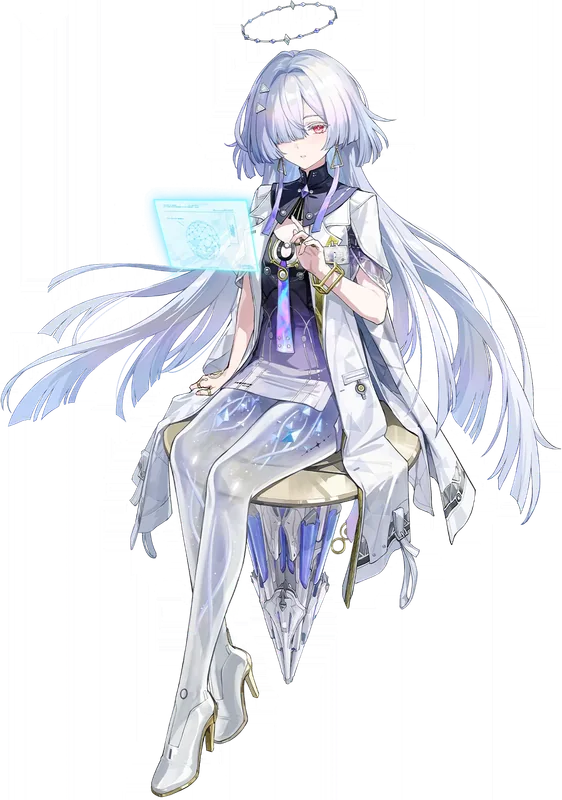 Mornye
Denia damages enemies over time and boosts Luuk's normal attacks on swap-out. Mornye adds buffs and speeds up Tune Breaks.
Main DPS
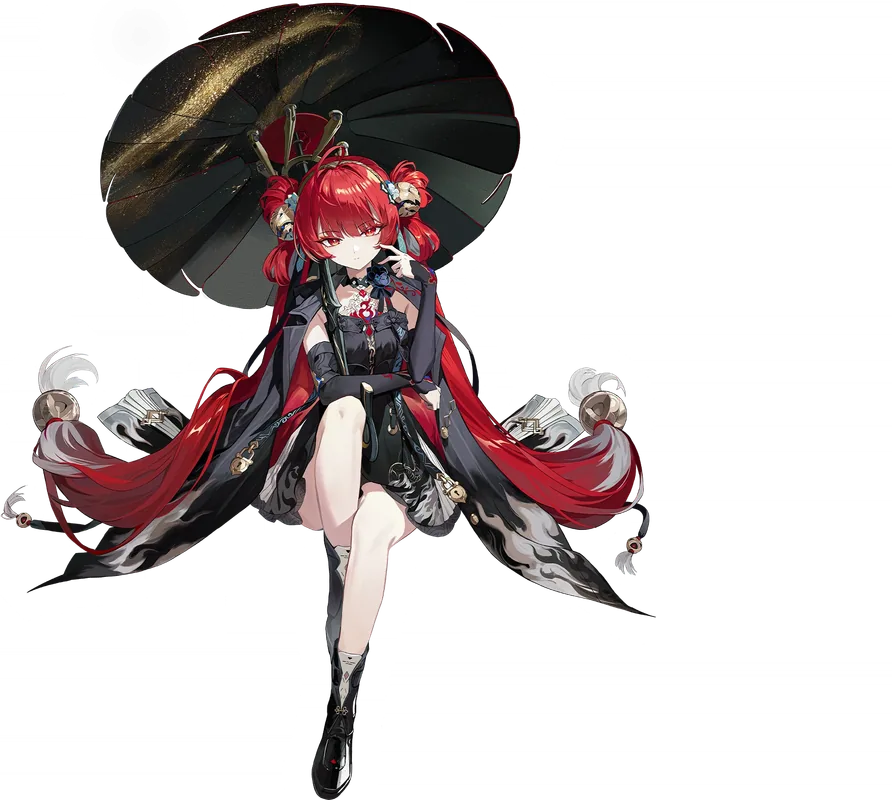 Suoming
Sub-DPS
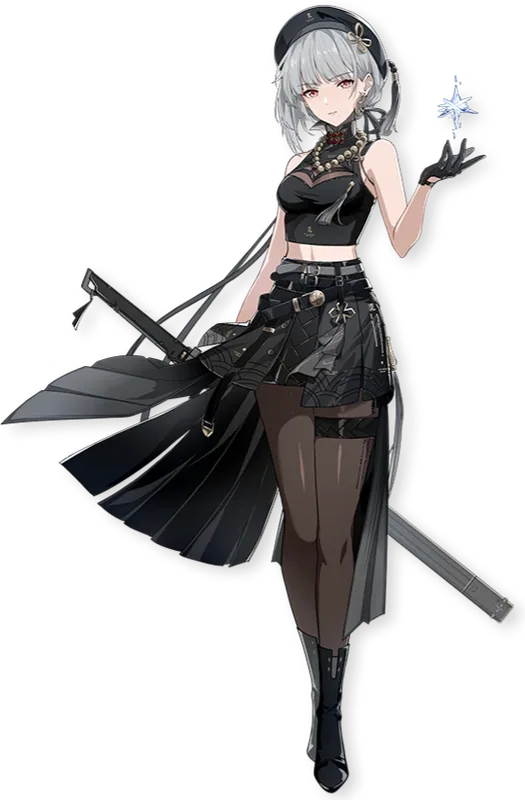 Sanhua
Support
ShorekeeperSuoming stays out as the main hitter. Sanhua boosts her normal attacks; Shorekeeper heals and raises crits.
Main DPS
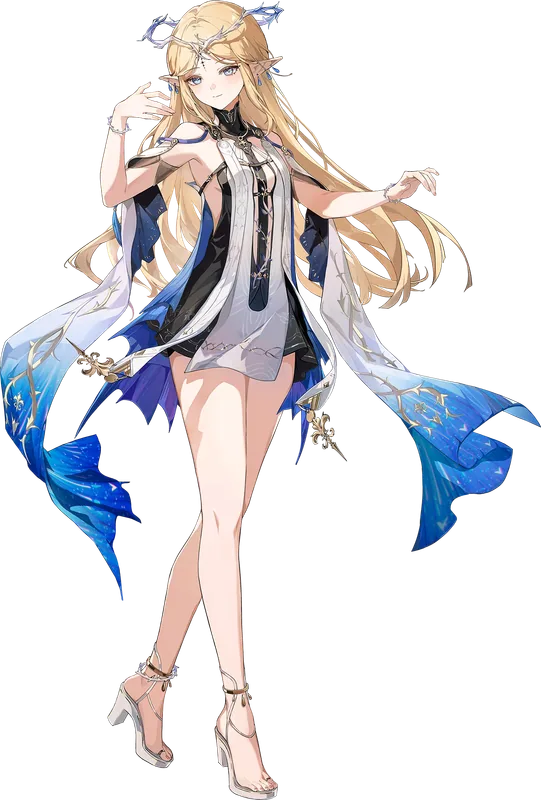 Cartethyia
Sub-DPS
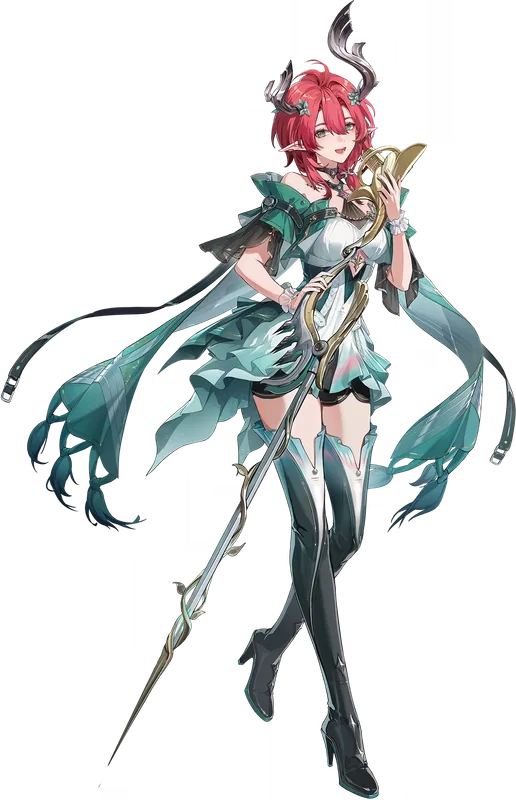 Ciaccona
Support
ChisaCiaccona stacks wind marks (Aero Erosion) — Cartethyia's damage grows with every mark. Chisa heals and shields, so no separate healer is needed.
Main DPS
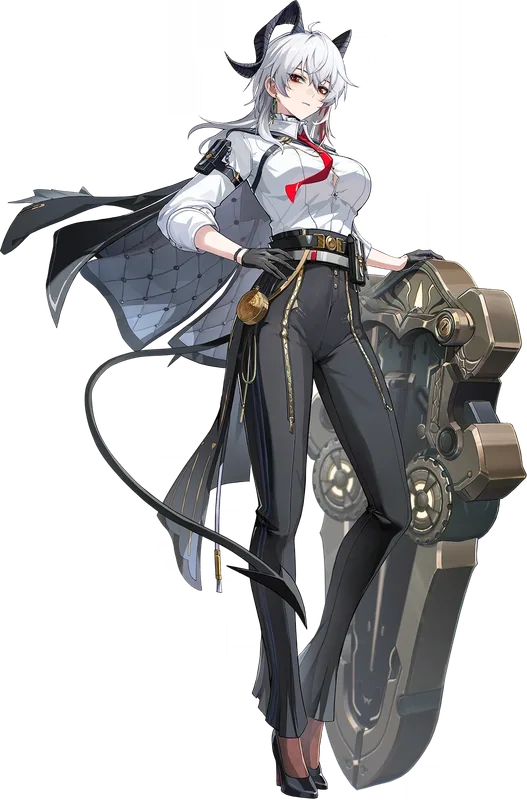 Zani
Sub-DPS
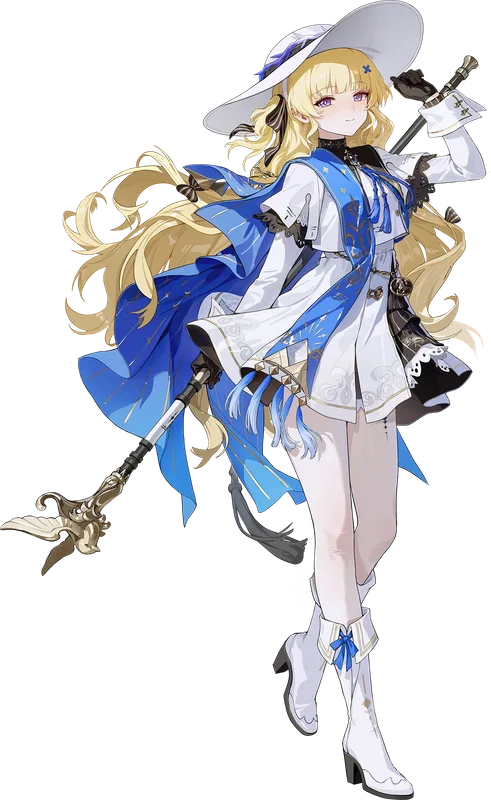 Phoebe
Support
ShorekeeperPhoebe piles light marks (Spectro Frazzle) on enemies, Zani turns them into her biggest damage. Shorekeeper heals and boosts crits.
Main DPS
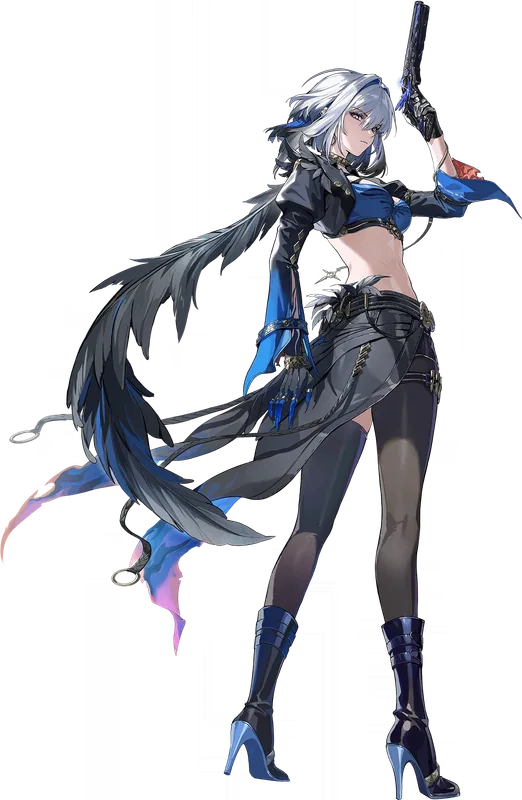 Galbrena
Sub-DPS
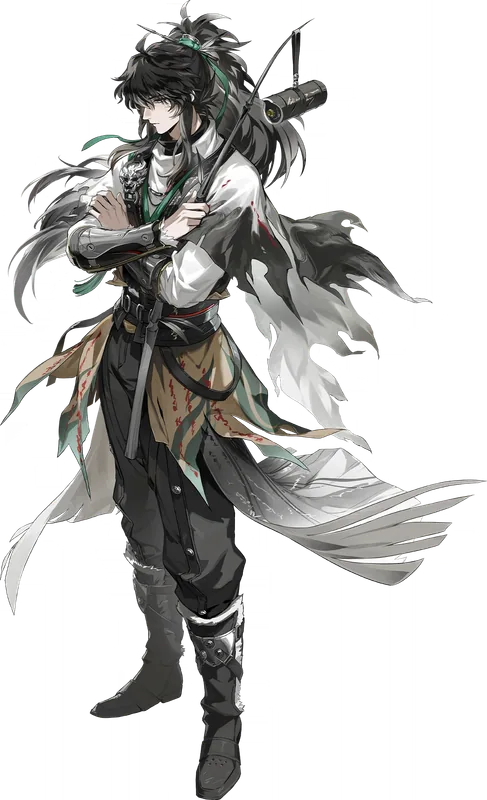 Qiuyuan
Support
ShorekeeperQiuyuan boosts Echo Skill damage, powering up Galbrena's attacks. Shorekeeper heals and raises crits.
Main DPS
CartethyiaSub-DPS
CiacconaSupport
Aero RoverCiaccona and Aero Rover keep wind marks maxed, so Cartethyia fights at full power almost nonstop. No healer in this version.
Main DPS
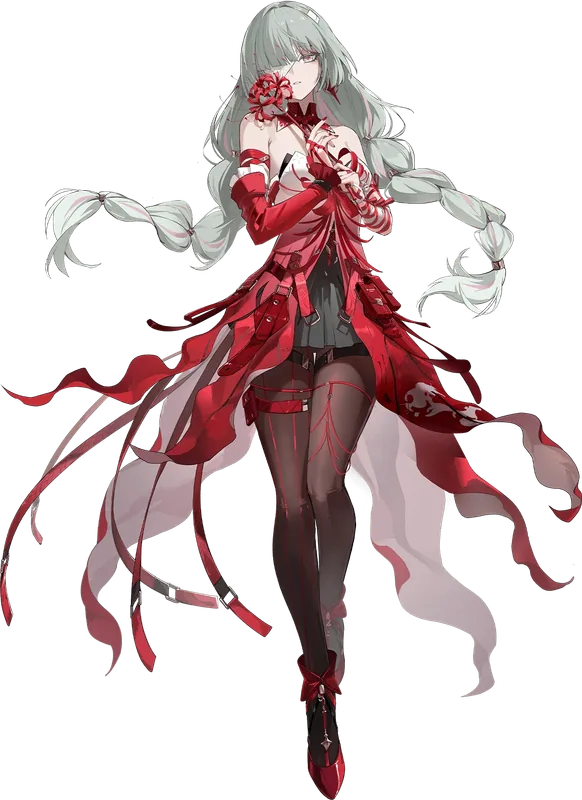 Phrolova
Sub-DPS
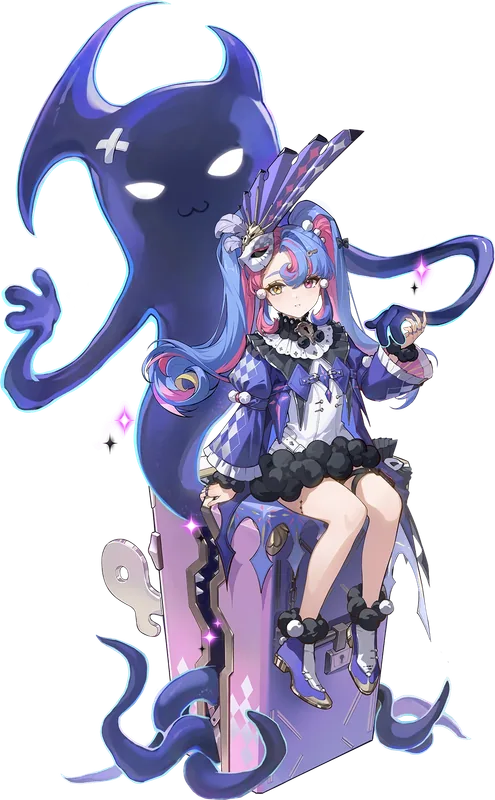 Roccia
Support
 Cantarella
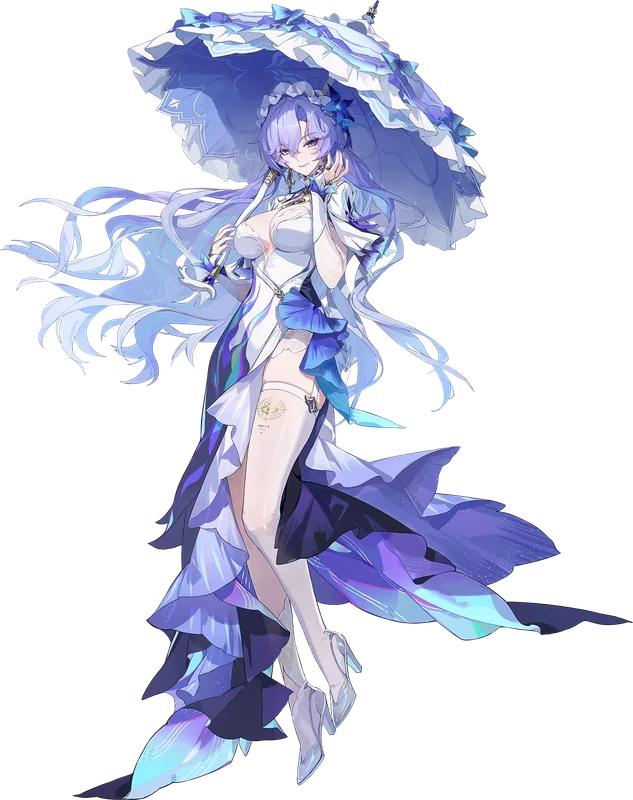
Roccia groups enemies and boosts Havoc damage. Cantarella powers up Phrolova's partner Hecate, who deals big damage from off-field.
Denia burns enemies over time, her buff growing stronger the longer the fight runs. Chisa heals, shields, and cuts defence.
Denia burns enemies over time and keeps boosting Aemeath. Suisui boosts Aemeath's skill damage and helps heal.
Swaps for when you're missing a member, or want a different shape for the same core.
Chisa takes Suisui's slot for more damage — she cuts defence and helps keep freeze stacked for Hiyuki.
Phoebe piles light marks on enemies, Zani cashes them in. Chisa stacks the marks higher, cuts defence, and covers healing and shields.
Main DPS
GalbrenaSub-DPS
 Lupa
Support
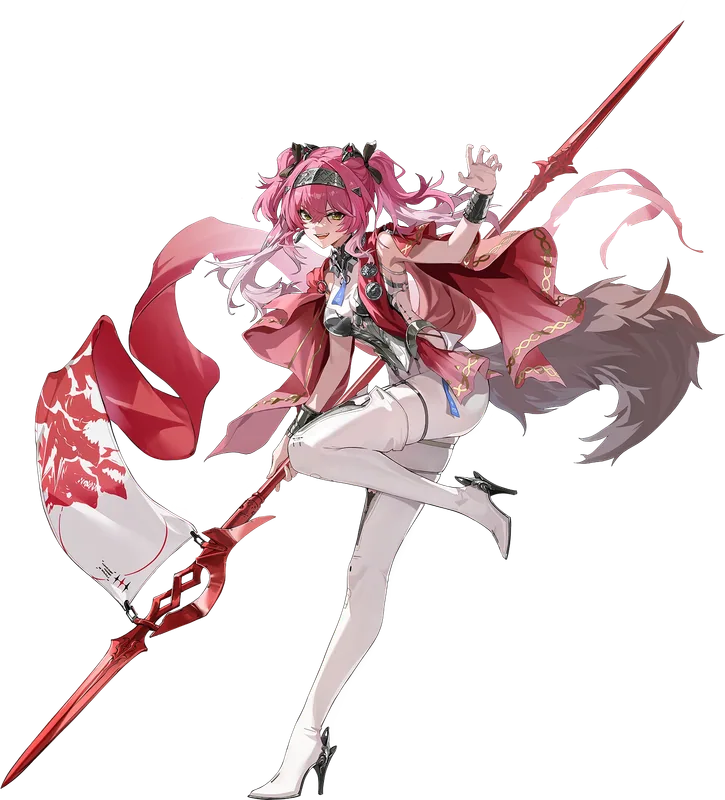
ShorekeeperLupa lowers enemy Fusion resistance and boosts the team's Fusion damage. Shorekeeper heals and raises crits.
Main DPS
PhrolovaSub-DPS
CantarellaSupport
ShorekeeperCantarella boosts Phrolova's Havoc damage and triggers extra attacks from her partner Hecate. Shorekeeper heals and raises everyone's crits.
Main DPS
PhrolovaSub-DPS
QiuyuanSupport
CantarellaQiuyuan's buffs supercharge Echo Skill damage — exactly what Hecate and Cantarella deal. Cantarella also heals, so no separate healer is needed.
Galbrena doesn't buff Sigrika — she's a second damage dealer whose attacks count as Echo Skill damage. No healer; Qiuyuan's Echo buffs feed them both.
Rebecca's turret boosts Lucy's heavy attacks and adds its own damage. Mornye speeds up Tune Breaks and buffs everyone.
Main DPS
Luuk HerssenSub-DPS
 Lynae
Support
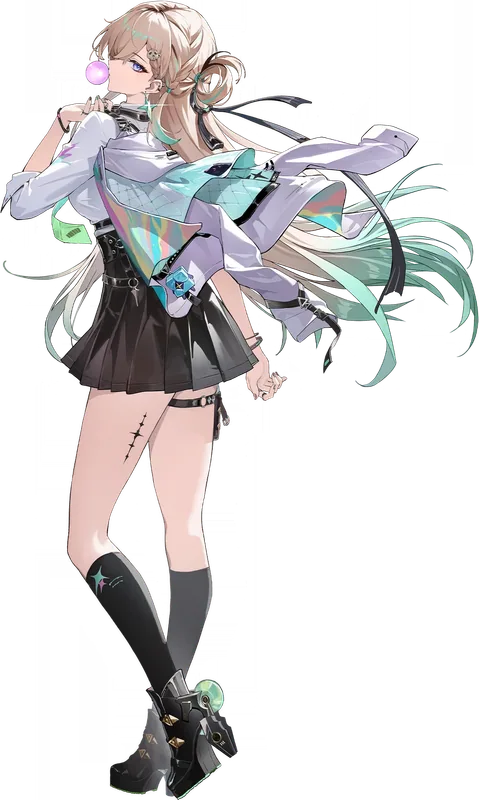
MornyeLynae buffs Luuk's damage, especially his ultimate. Mornye adds more buffs and speeds up Tune Breaks.
Lupa boosts team Fusion damage and lowers enemy Fusion resistance. Brant hands Jingran a Fusion boost, healing and shields — and Jingran hits harder when shielded.
Current reset · Nov 9 – Dec 7, 2026
Which teams to send up which tower this reset.
The Hazard Zone resets every 28 days — next reset Monday, December 7, 2026 at 4:00 AM server time (4:00 AM ET on the America server).
Bosses also resist their own element: a boss takes about a third less damage from its own element, every reset.
A full clear needs at least 4 different teams — the game's Vigor system stops one team clearing everything, and no character can be spent twice.
Left
Main DPS
JingranSub-DPS
IunoSupport
ShorekeeperIuno feeds Jingran heavy-attack buffs and healing, Shorekeeper adds crit buffs — Jingran stays out doing the big damage.
Same team also listed under Hazard Tower · Floors 3–4. No character can be used twice in a full clear, so send it up one tower.
Main DPS
GalbrenaSub-DPS
QiuyuanSupport
ShorekeeperQiuyuan boosts Echo Skill damage, powering up Galbrena's attacks. Shorekeeper heals and raises crits.
Denia burns enemies over time, her buff growing stronger the longer the fight runs. Chisa heals, shields, and cuts defence.
Lupa boosts team Fusion damage and lowers enemy Fusion resistance. Brant hands Jingran a Fusion boost, healing and shields — and Jingran hits harder when shielded.
Right
Main DPS
ZaniSub-DPS
PhoebeSupport
ShorekeeperPhoebe piles light marks (Spectro Frazzle) on enemies, Zani turns them into her biggest damage. Shorekeeper heals and boosts crits.
Phoebe piles light marks on enemies, Zani cashes them in. Chisa stacks the marks higher, cuts defence, and covers healing and shields.
Main DPS
Yangyang: XuanlingSub-DPS
ChisaSupport
SuisuiChisa and Suisui strip enemy defence while Xuanling builds marks — her heavy attacks then cash them in for huge damage.
Main DPS
Luuk HerssenSub-DPS
DeniaSupport
MornyeDenia damages enemies over time and boosts Luuk's normal attacks on swap-out. Mornye adds buffs and speeds up Tune Breaks.
Middle
Lucilla and Suisui stack freeze — Hiyuki's biggest hits land hardest on frozen enemies. Suisui also heals.
Chisa takes Suisui's slot for more damage — she cuts defence and helps keep freeze stacked for Hiyuki.
Main DPS
 Carlotta
Sub-DPS
 Zhezhi
Support
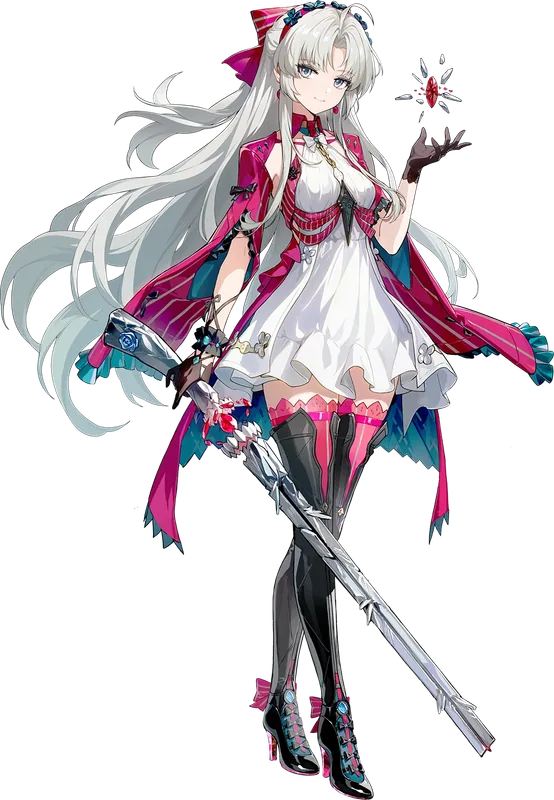
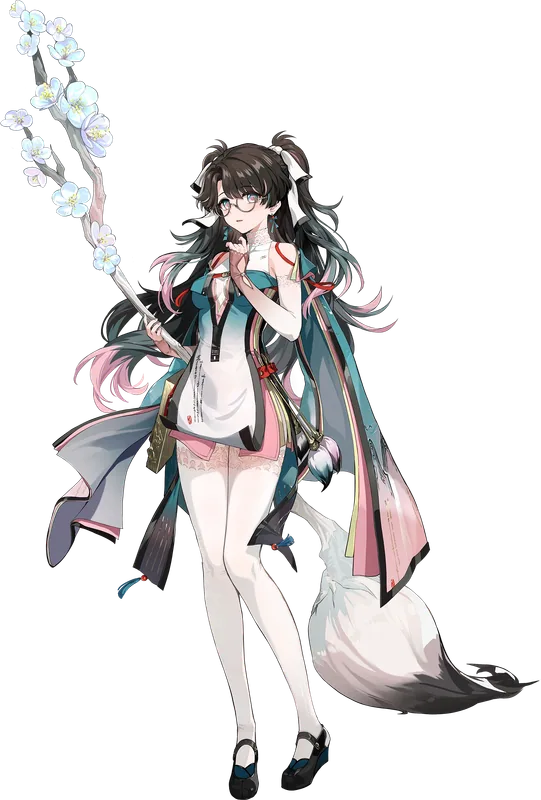
ShorekeeperZhezhi's swap-out buff raises Resonance Skill damage — Carlotta's main damage — and this tower boosts it further. Shorekeeper heals and boosts crits.
Main DPS
AugustaSub-DPS
IunoSupport
ShorekeeperIuno boosts Augusta's heavy attacks and heals her, Shorekeeper raises crits — Augusta does almost all the damage.
Middle
Main DPS
HsinSub-DPS
SuomingSupport
ShorekeeperHsin and Suoming swap fast, building a shared meter that makes both hit harder. Shorekeeper heals and boosts crits.
Main DPS
 Sigrika
Sub-DPS
QiuyuanSupport
ShorekeeperQiuyuan boosts Echo Skill damage — Sigrika's main damage source. Shorekeeper heals and raises crits.
Main DPS
PhrolovaSub-DPS
QiuyuanSupport
CantarellaQiuyuan's buffs supercharge Echo Skill damage — exactly what Hecate and Cantarella deal. Cantarella also heals, so no separate healer is needed.
Same team also listed under Resonant Tower. No character can be used twice in a full clear, so send it up one tower.
Main DPS
GalbrenaSub-DPS
QiuyuanSupport
ShorekeeperQiuyuan boosts Echo Skill damage, powering up Galbrena's attacks. Shorekeeper heals and raises crits.
Keep out of Hazard Floors 1–2 — enemy Fusion RES is up 10% there — and out of Echoing Floors 2–4, where the bosses resist Fusion. Their home this reset is Resonant Tower.
Keep out of Resonant Tower — every boss there resists Havoc — and out of Hazard Floors 1–2, where Havoc RES is up 10%. They park in Echoing Tower this reset.
Keep out of Hazard Floors 3–4 — both bosses resist Spectro, and Spectro gets no break from the 15% rise there. Their home this reset is Echoing Tower.
Their home this reset is Hazard Floors 1–2. In Hazard Floors 3–4 the 15% rise taxes them — Glacio is not one of the two exempt kinds of damage there.
Current reset · Oct 26 – Nov 23, 2026
Best teams below are for Infinite Torrents, split by half.
Respawning Waters (Chasm stages 7–11 and Infinite Torrents) resets every 28 days — next reset Monday, November 23, 2026 at 4:00 AM server time (4:00 AM ET on the America server). Forbidden Waters (stages 1–6) never resets.
Golden Token
The Craft of Endless Inspiration
Electro Flare damage up 65%. Unison Electro damage up 60%.
Golden Token
The Scale of Heart and Soul
Tune Strain shifting raises damage 40%. Tune Breaks give the whole team +30% damage of every element and +30% Aero damage.
Golden Token
Lamp That Illuminates the Illusion
Gaining a shield stacks Fusion damage and Heavy Attack damage, up to 15 stacks.
Stage effect
Infinite Torrents
Enemies take 30% more damage, and even more while the Burning Waves state is running.
Glacio and Havoc teams perform badly this reset — this cycle's enemies resist those elements. Hiyuki and Yangyang: Xuanling have a harder cycle.
Best 1st half
Denia and Mornye speed up and boost the team's Tune Break attacks. Qingxiao does the main hitting.
Main DPS
JingranSub-DPS
IunoSupport
ShorekeeperIuno feeds Jingran heavy-attack buffs and healing, Shorekeeper adds crit buffs — Jingran stays out doing the big damage.
Main DPS
SigrikaSub-DPS
QiuyuanSupport
ShorekeeperQiuyuan boosts Echo Skill damage — Sigrika's main damage source. Shorekeeper heals and raises crits.
Iuno boosts Augusta's heavy attacks and heals. Lynae brings damage buffs instead of a second support, so Augusta hits harder.
Denia burns enemies over time, her buff growing stronger the longer the fight runs. Chisa heals, shields, and cuts defence.
Best 2nd half
Main DPS
HsinSub-DPS
SuomingSupport
ShorekeeperHsin and Suoming swap fast, building a shared meter that makes both hit harder. Shorekeeper heals and boosts crits.
Main DPS
HsinSub-DPS
Electro RoverSupport
SuisuiElectro Rover builds Hsin's Flare marks fast, Suisui boosts her skill damage and heals — then Hsin sets the marks off.
Harder this reset — enemy Glacio resistance
Lucilla and Suisui stack freeze — Hiyuki's biggest hits land hardest on frozen enemies. Suisui also heals.
Teams built from free and standard-banner Resonators — strong enough to clear most content while you save.
Main DPS
Yangyang: XuanlingSub-DPS
 Mortefi
Support
 Verina
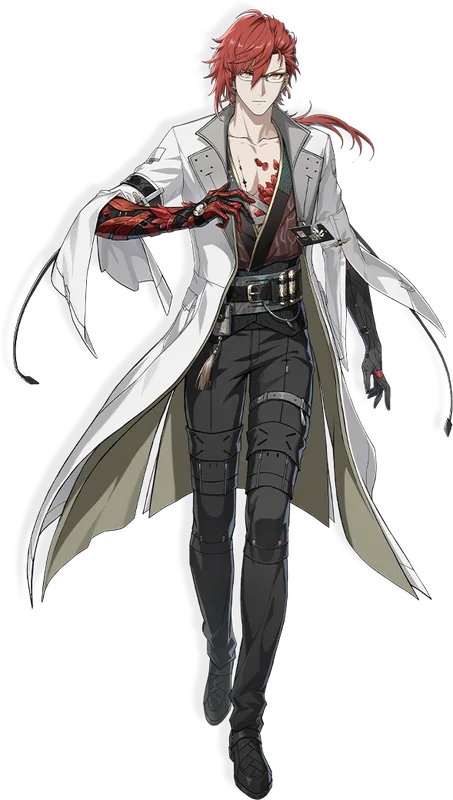
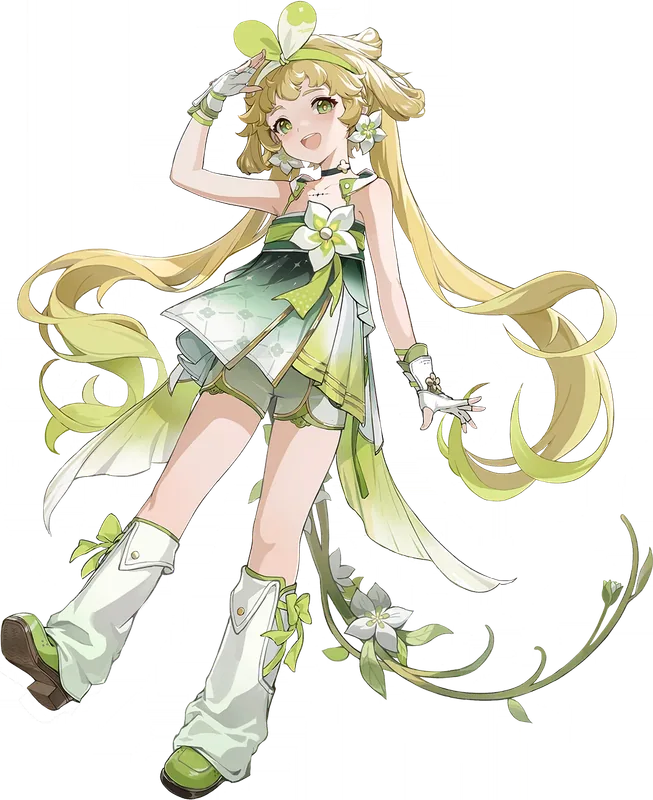
Mortefi makes Xuanling's heavy attacks hit much harder on swap-out, and keeps firing extra shots. Verina heals and boosts everyone's attack.
Main DPS
HsinSub-DPS
Electro RoverSupport
 Buling
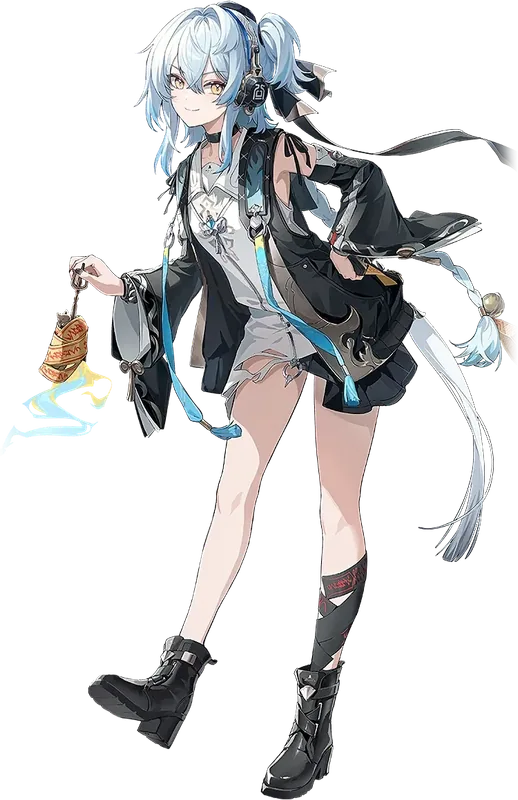
Electro Rover builds Hsin's Flare marks fast. Buling is the cheap support — she boosts skill damage, no rare gear needed.
Main DPS
Spectro RoverSub-DPS
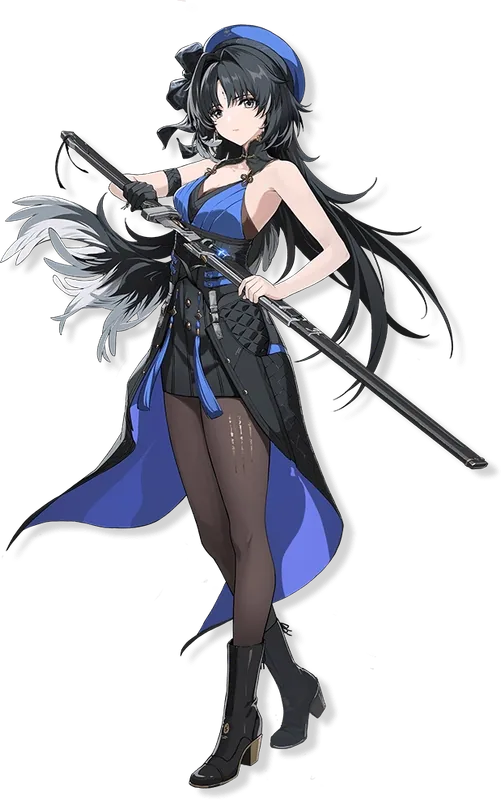 Yangyang
Support
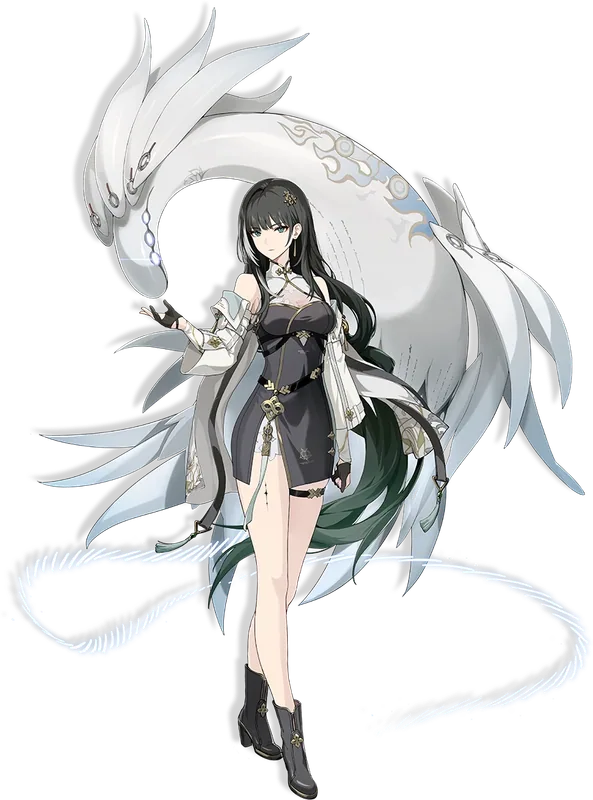 Baizhi
Yangyang groups enemies and feeds Rover energy, so his ultimate comes up more often. Baizhi heals.
Main DPS
Havoc RoverSub-DPS
SanhuaSupport
BaizhiSanhua makes Rover's normal attacks hit much harder — exactly what he spams in Dark Surge form. Baizhi heals.
Yangyang feeds Chixia energy and groups enemies, so she can keep firing as the damage dealer. Baizhi heals and buffs attack.
Mortefi adds extra fire hits whenever Sigrika lands normal or heavy attacks. Verina heals and buffs attack. Works — but nobody gives Sigrika the Echo Skill boost Qiuyuan would.
Main DPS
Luuk HerssenSub-DPS
Spectro RoverSupport
VerinaSpectro Rover chips in side damage, so Luuk barely has to leave the field. Verina heals and hands out attack buffs.
Main DPS
Spectro RoverSub-DPS
SanhuaSupport
VerinaSanhua boosts the next fighter's normal attacks on swap-out; Verina heals and adds attack buffs. A cheap, safe team built around Rover.
Sanhua boosts Encore's normal attacks on swap-out. Verina heals and buffs while Encore and her woolly partner do the damage.
Sanhua boosts Calcharo's normal attacks — his ultimate form turns them into fast, heavy lightning strikes. Verina heals and buffs.
Yinlin boosts Calcharo's lightning and ultimate damage on swap-out, and her puppet keeps hitting from off-field. Verina heals and buffs.
Mortefi fires extra shots alongside Jiyan and boosts his heavy attacks, feeding his wind-spear ultimate form. Verina heals and buffs.
Tap a Resonator to show only the teams they're in. The number is how many teams on this page use them.