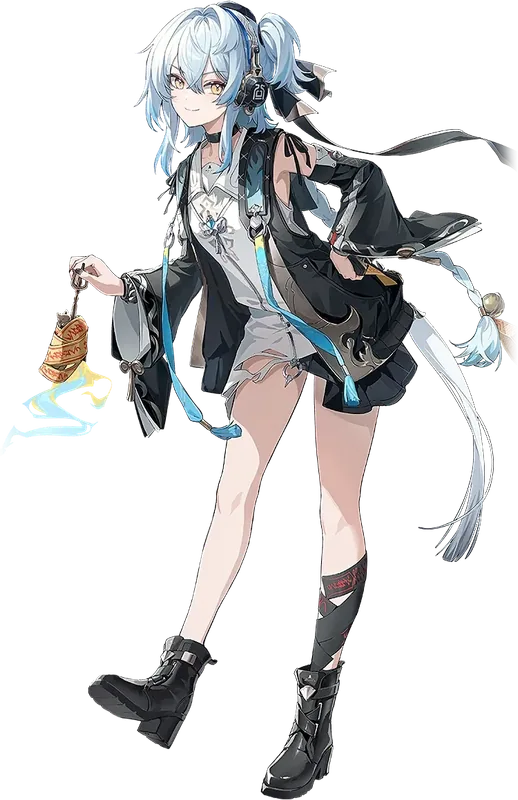
Electro · Rectifier · 4★
Buling
No active banner
Free 4-star healer; applies Electro Flare and buffs Resonance Skill DMG.
- Our tier
- A Strong
- Community · ToA
- T1 Support
- Role
- Support
- Rarity
- ★★★★
At a glance
- Best weapon
- Stellar Symphony 5★
- Echo set
- Rejuvenating Glow 5-pc
- Top team
- Hsin · Electro Rover · Buling
- Pull verdict
- No active banner Full verdict ↓
Build in plain words
The same build as below, with no jargon.
Buling is an Electro helper who uses a Rectifier.
Best weapon: Stellar Symphony. Good backup: Variation.
Echo set: Rejuvenating Glow (5-pc). Put Fallacy of No Return in the main slot.
Stats to look for: 4-cost: Healing Bonus; 3-cost: Energy Regen; 1-cost: ATK%.
Bonus stats to want, in order: Energy Regen, ATK%, flat ATK.
Do this first: get Stellar Symphony and the Rejuvenating Glow set. The rest can come later.
Build
Fast path: Stellar Symphony or Variation + 5-piece Rejuvenating Glow in a 4-3-3-1-1 layout with Fallacy of No Return in the main slot. Aim for a Healing Bonus 4-cost, Energy Regen 3-costs, ATK% 1-costs, 150% Energy Regen and 1800+ ATK; Call of the Abyss is the best free option.
Weapons
- 01
 Stellar SymphonyBiS★★★★★
Shorekeeper's signature, but Game8's top pick for Buling too: she can't trigger its team ATK buff, but the raw Energy Regen and HP stats beat everything. Not her signature.
- 02
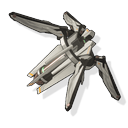 Variation★★★★
Cost-effective 4-star; Energy Regen and Concerto Energy on skill, plays out nearly the same.
- 03
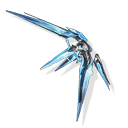 Cosmic Ripples★★★★★
Lots of ATK plus some Energy Regen from the weapon skill.
- 04
 Call of the Abyss★★★★
Best F2P option; Healing Bonus on Liberation plus Energy Regen and ATK. From the Shadow of the Towers questline.
Show all 5 ranked weapons
- 05
 Rectifier#25★★★★
Energy Regen and a conditional ATK buff; usable filler. Free last-resort alternative: the 3-star Rectifier of Voyager.
Echo sets
Cost layout: 4-3-3-1-1
 Rejuvenating Glow5-pc
best-in-slot
Main Echo: Fallacy of No Return
Her healing is strong enough to fully utilize the set: healing boost plus 15% team ATK on Outro. Fallacy adds Energy Regen and another team ATK buff.
 Moonlit Clouds5-pc
alternative
Main Echo: Impermanence Heron
Energy Regen and an ATK buff for the next Resonator; the ATK buff only affects one party member.

situational
Main Echo: Soulfrayer
In Electro Flare teams (with Hsin or Electro Rover): inflict Flare, then her Outro hands the incoming Resonator +25% Electro DMG Bonus, and Soulfrayer's own effect stacks another Electro buff. Outside Flare teams, Rejuvenating Glow stays the pick.
Stat priorities
Substats
- 1Energy Regen
- 2ATK%
- 3flat ATK
Energy Regen target: 150% (plus 1800+ ATK)
Resonance chain
Partially verified: all six nodes confirmed via wuthering.gg; value order from one 3.7 guide only - S6 is the support jackpot.
- S0F2P baseline
Free healer with Flare application and Resonance Skill DMG buffs at S0.
- S1Best value stop
+20% CRIT Rate on her Liberation - the cheapest meaningful dupe.
- S5Support upgrade
Five Thunders Spell Array inflicts 6 extra Electro Flare stacks on generation.
- S6Whale ceiling
Support jackpot: +50% Resonance Skill DMG Bonus to the active Resonator; cheap to max on rate-up banners.
All six nodes
- S1Value
Exorcist Gadgets, Lend Me Your Power
Liberation Flashing Thunder Spell: Harmony gains +20% CRIT Rate on dealing damage.
- S2Comfort
Talisman Burns, Spirits Turn
Entering Yin-Yang Balance restores 25 Resonance Energy (24s CD).
- S3Comfort
Summoner of Spirits, Seeker of Fate
Emergency heal below 50% HP: 350+150% of Buling's ATK (24s CD).
- S4Comfort
Wanderer of Solaris, Blessed by Fortune
+20% Healing Bonus.
- S5Value
Forum Ban? New Account!
Five Thunders Spell Array inflicts 6 extra Electro Flare stacks on generation.
- S6Key
"Almighty Forum Lord of Thunder Spell"
Thunder Spell - Heaven, Earth, Mind grants the active Resonator +50% Resonance Skill DMG Bonus.
No signature (4-star): Stellar Symphony is this page's top pick - dupes come cheap via rate-up banners.
Sequence data via wuthering.gg + game8.
Sequence data is still under review — priorities may change as more sources confirm them.
Farming
Ascension + forte costs with farm locations.
Ascension 0 → 90
 Blighted Crown of Puppet King×46World boss False Sovereign, Septimont
 Pecok Flower×60Central Plains (Taoyuan Vile), Huanglong + Shifang Pharmacy, Jinzhou
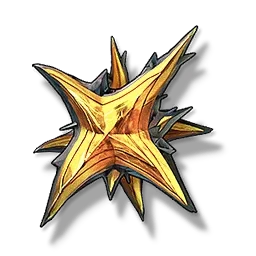 Whisperin Core×32LF ×4MF ×12HF ×12FF ×4Whisperin Tacet Discords, Huanglong
 Shell Credits×170,000
Forte — full tree
- Whisperin Core×150LF ×25MF ×28HF ×40FF ×57Whisperin Tacet Discords, Huanglong
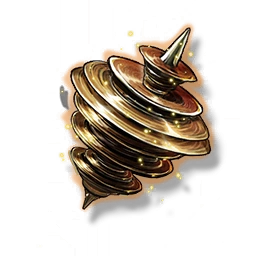 Helix×175Lento ×25Adagio ×28Andante ×55Presto ×67Forgery Challenge
 Curse of the Abyss×26Weekly boss Threnodian: Leviathan
- Shell Credits×2,030,000
Verified 2026-10-22: Game8 + TopUpLive. (One source's 'x40' total for Blighted Crown is a typo; its own per-rank figures sum to 46.)
Teams
Tested comps with rotations.
Budget: Hsin + Electro Rover + Buling

Hsin
Main DPSElectro
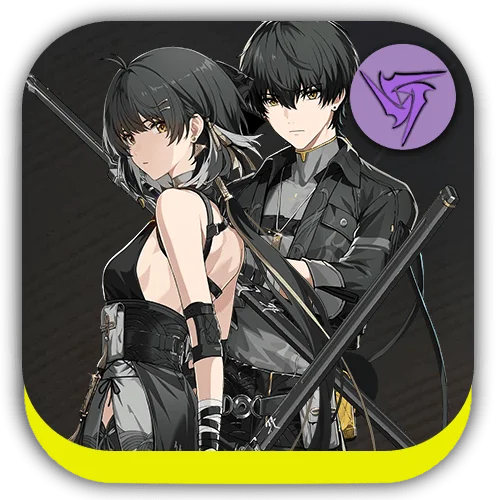
Electro Rover
Sub-DPSElectro
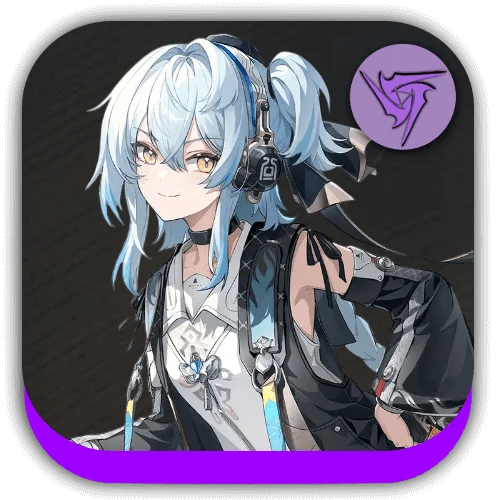
Buling
SupportElectro
- HsinMain DPS — Electro Flare hypercarry; benefits from Buling's general DMG and Resonance Skill DMG buffs.
- Electro RoverSub-DPS — Bulk Electro Flare applicator with the Intro interaction bonus for Hsin.
- BulingSupport — Applies Electro Flare herself, heals, and buffs Resonance Skill DMG through her Forte-enhanced Liberation.
Rotation
Buling opens with Basics into Heavy, skill, Liberation, then Outro to Rover; Rover applies Flare stacks with skill and Liberation, then Hsin enters via Outro to build and detonate.
Alternative: Jinhsi + Zhezhi + Buling

Jinhsi
Main DPSSpectro
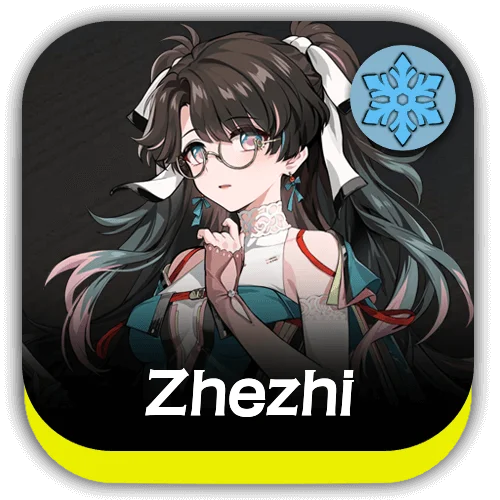
Zhezhi
Sub-DPSGlacio
Buling
SupportElectro
- JinhsiMain DPS — Resonance Skill burst DPS; both Zhezhi and Buling buff her main damage type.
- ZhezhiSub-DPS — Coordinated attacks to build Incandescence plus Resonance Skill DMG amplification via Outro.
- BulingSupport — Resonance Skill DMG buff from her Forte-enhanced Liberation, healing, and team-wide DMG amplification.
Rotation
Buling runs her Mountain Over Thunder / Twin Thunders combo into Liberation and Outro to Zhezhi; Zhezhi builds Forte, casts her empowered skills and Liberation, then Outro into Jinhsi's full burst combo.
Pull verdict
Pull verdict
No active bannerOne of the strongest 4-star supports and a budget Electro Flare option for Hsin teams; grab a copy whenever she's on a banner you like.
Data current as of game version 3.7.